Among the many joys of renovating are the inevitable goof-ups that are part of renovating an existing house. Particularly one with walls that are the architectural equivalent of a free form, interpretative dancer pirouetting barefoot to the accompaniment of music composed by a room full of chimpanzees for bagpipe, harmonica and whoopee cushion. I imagine that back in 1976, the builder must have muttered ‘Close enough’ and ‘Whatever’ or possibly ‘Groovy, man’ more than a few times. However, I must confess that more than one issue cannot be attributed to wonky existing construction but falls squarely in the realm of ‘amateur renovator’. Aside from self inflicted head wounds caused by not noticing rivets popping out of a hand saw and finger pokes on hidden nails and staples that have previously been mentioned on this blog, there is a level of incompetency that qualifies as a Code Red on the Oopsie Scale.
Please note that no humans were harmed (seriously) during this project. So far.
Case Study #1: Installing gypsumboard wrong side out on the clinic sauna room ceiling. In my defense, it was an extremely complicated cut as there were no parallel walls and I was focussing entirely on getting the angles right and forgetting to mirror image the measurements. Oops.
Case Study #2: Installing plywood over concrete. It worked well, except in one spot which lifted. Of course, that spot is in the worst location possible right in front of a doorway and the slight movement means that we now have to figure out how to screw down plywood through concrete to achieve a stable base for the tile floor. Note to self: don’t be chintzy with the PL400 and keep pressure on it until it’s absolutely cured. Then wait a couple days longer before removing the bracing. Oops.
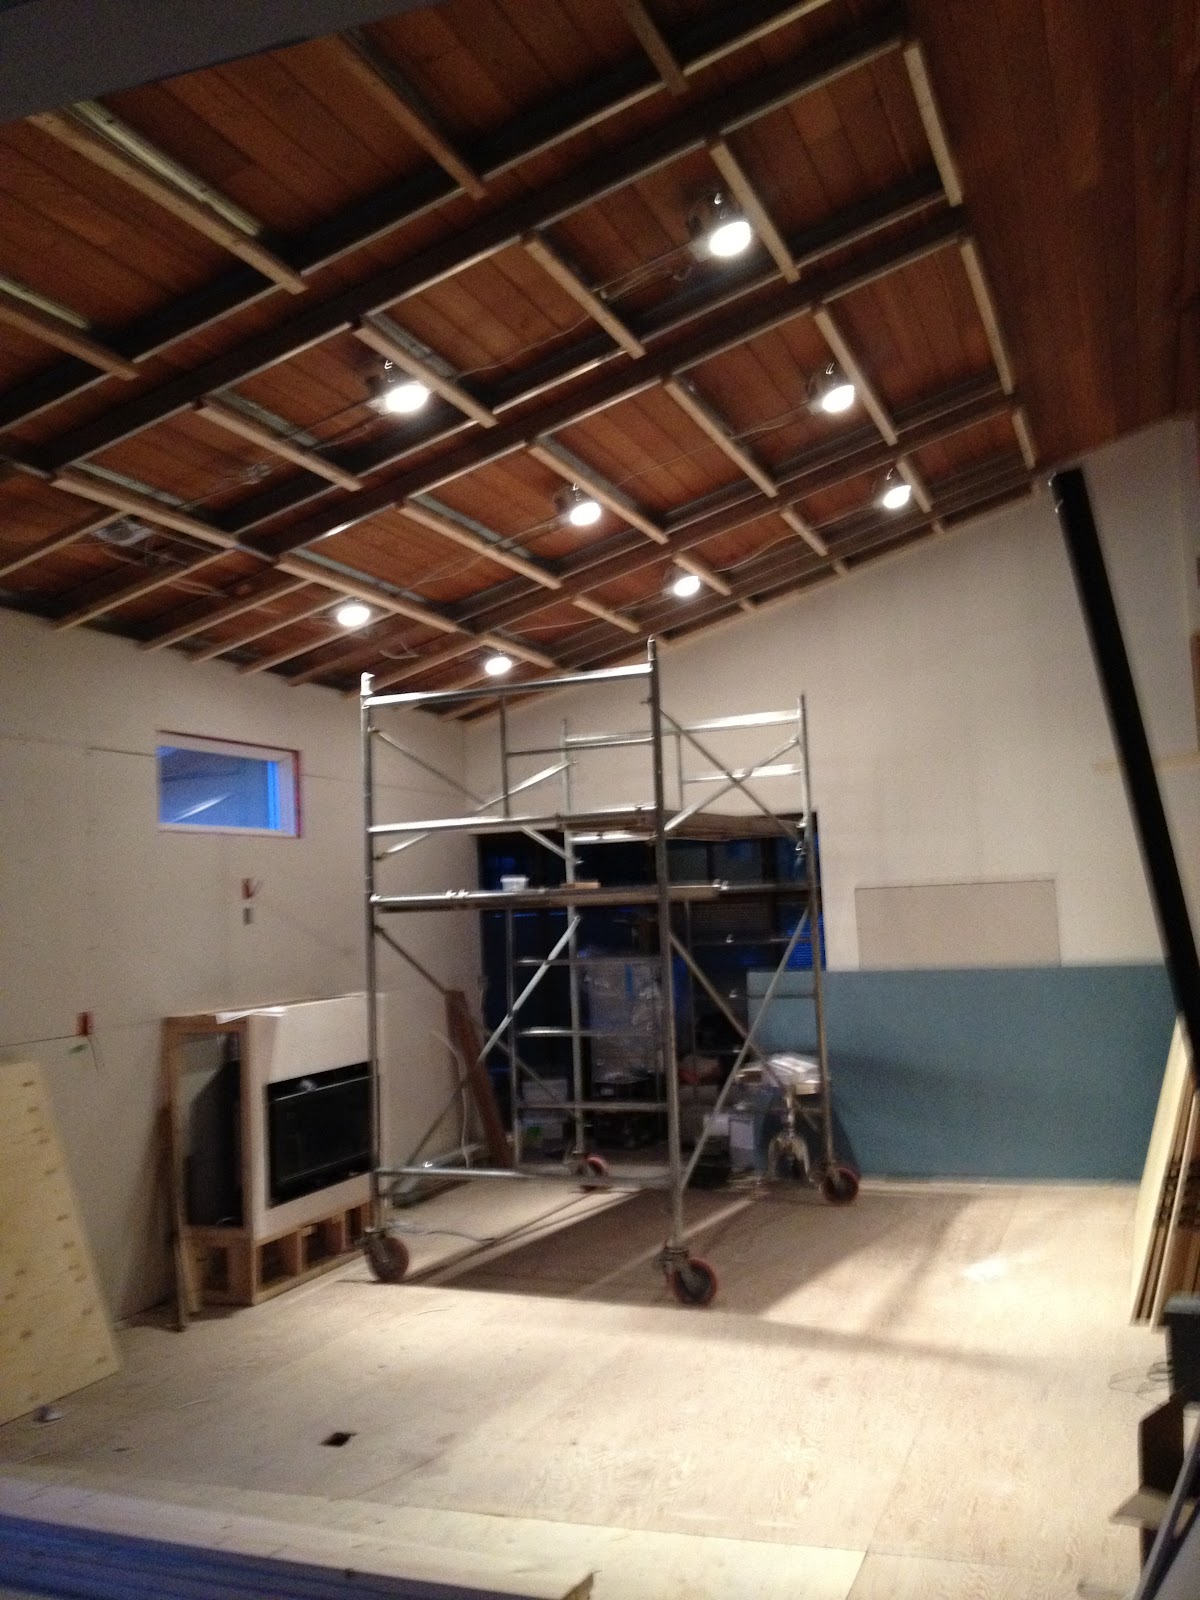
Case Study #3: Nominal vs actual sizes apply to both lumber and steel stud framing. After furring out all our living room ceiling clouds with 1” metal furring channels over 4” studs, we discovered we were short a critical ½” in depth and the pot lights would not fit. So, we had the opportunity to reframe the furring in wood after the clouds were already overhead. Not easy or fun. Oops.
Case Study #4: Be aware of your surroundings. If there’s only a couple of square feet of plywood subfloor removed, and you’re walking backwards carrying materials, you will find the hole. Just sayin’. On the bright side, we have a new ceiling feature in the Family Room now. (Nice Five Fingers shoes, Jean!) Oops.
Case Study #5: Be aware of where services are under the floor you’re sawing out. Just because it’s too dark to see the electrical wire, doesn’t mean it’s not there. At least the Renovation Gods took pity on you and had the breaker turned off. Oops.

Case study #1


Case Study #2
Case Study #3
Case Study #4
Case study #5:

I love that you made the legs wait in the new "skylight" so you could exploit the photo op!
ReplyDelete