Thursday 21 June 2012

I Didn’t Know That! D’oh! (Part 1)

So, while I optimistically think of myself as reasonably handy with tools, logical and well informed, there’s always a few ‘aha!’ moments in the course of working on a big project.    With every project I’ve undertaken over the years, my skills have been refined – sometimes with baby steps, sometimes with giant leaps of ‘Oh, how could I not have known that!’.

Here’s what I’ve learned so far.  Feel free to laugh and mock as appropriate.

#1: Screwdrivers (at least the better quality ones) are color coded to indicate varying sizes.  And here I thought they were just pretty.  Sure saves time staring at the end cross-eyed trying to guess if that Philips one is the right one.  I won’t mention that I still confuse Philips and Robertson types.

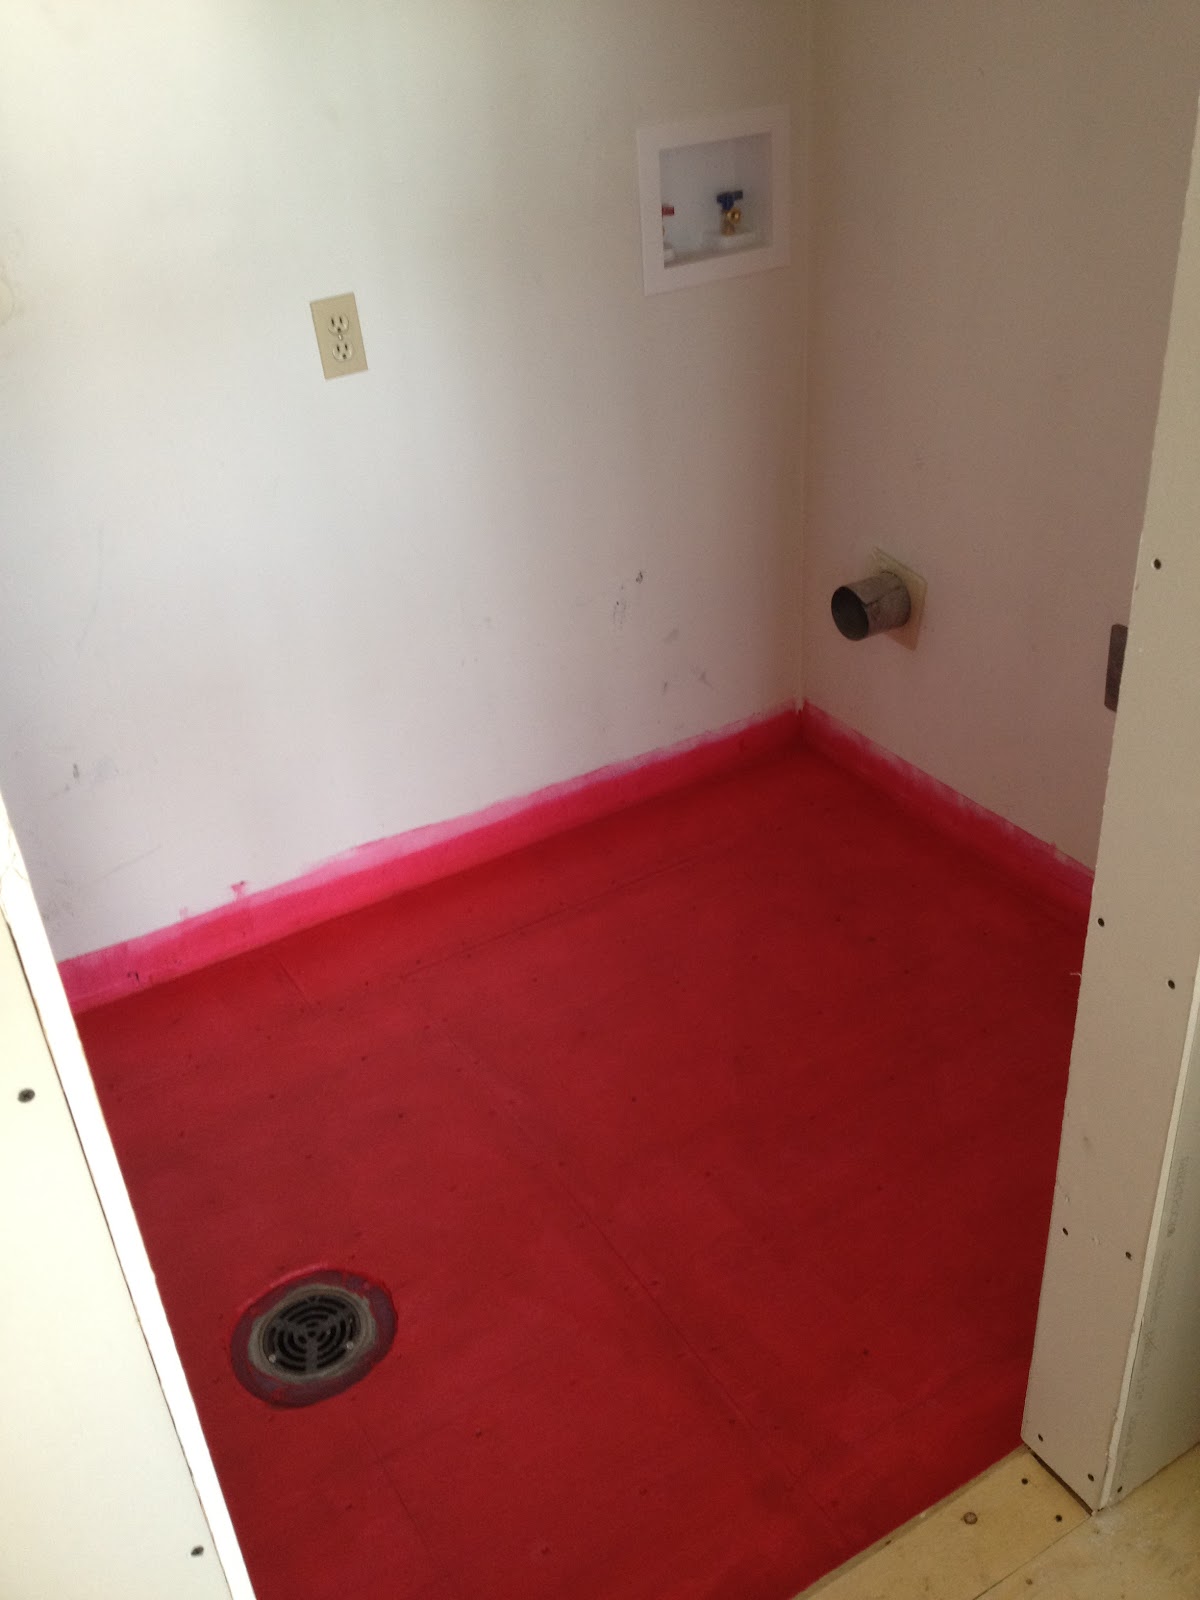
#2:  Waterproof membrane:  you don’t have to use the cumbersome orange waffle grid Schluter membrane.  Our tile guru used a couple of coats of a roll-on liquid.  Looked like raspberry yogurt in the pail, but is much easier to work with and dries to a striking hot pink color.


#3: Critical dimensions.   Toilets are supposed to be 15” to centerline from the inner face of the wall.  The plumber doesn’t care about ‘high efficiency space planning’ – he just wants to meet code requirements.  The tile guru wants a new layer of plywood not because he’s a pain in the @ss, but because a 1 ¼” underlay is required.  Fine.

#4:  The elbows in copper piping is made of a different material and must be separated from the straight lengths of copper pipe if you want top pricing from the metal salvager.  Thank the gods for the Sawz-all.  Two dollars a pound isn’t enough motivation to get me to spend an afternoon using a hacksaw.


#5:  Commercial door frames are wider than residential door casings.  I knew this somewhere in the recesses of my brain, but still managed to frame a couple of rough openings too wide.  Shims to the rescue!

#6:  Tape measures have a diamond at apparently random places (19 3/16”?).  There’s actually a logic to this as it divides standard lumber/plywood into equal spacing.  Thanks to Scott for the tip.

#7:  You don’t have to order the jets in a whirlpool tub directly from the manufacturer as the supplier often has an in-house department to do after-market refits.  Plus, this option turns out to be cheaper.  Thanks to our sales rep for screwing up our order and allowing us to find this alternative.

#8:  Don’t be lazy and keep the electrical plug in its box when drywalling.  Spend 30 seconds per receptacle to undo a couple of screws and pull it out so you can cut the edge of the drywall tight to the edge of the box.  This will greatly reduce the amount of eye rolling and mocking from the drywall finisher. (Vat eez  theez  sheet?   Quel eediots!  Merde!)

#9:  Forming tight curves with drywall can be done a couple of ways.  Yes, you can score the back of the sheet.  Or, you can buy ¼” thick drywall instead of ½” and most of the problem takes care of itself.  Plus, you can use a spray bottle to dampen the drywall to make it easier to form into curves.  Thanks Mr. Drywall and Stucco Supply Store Man!

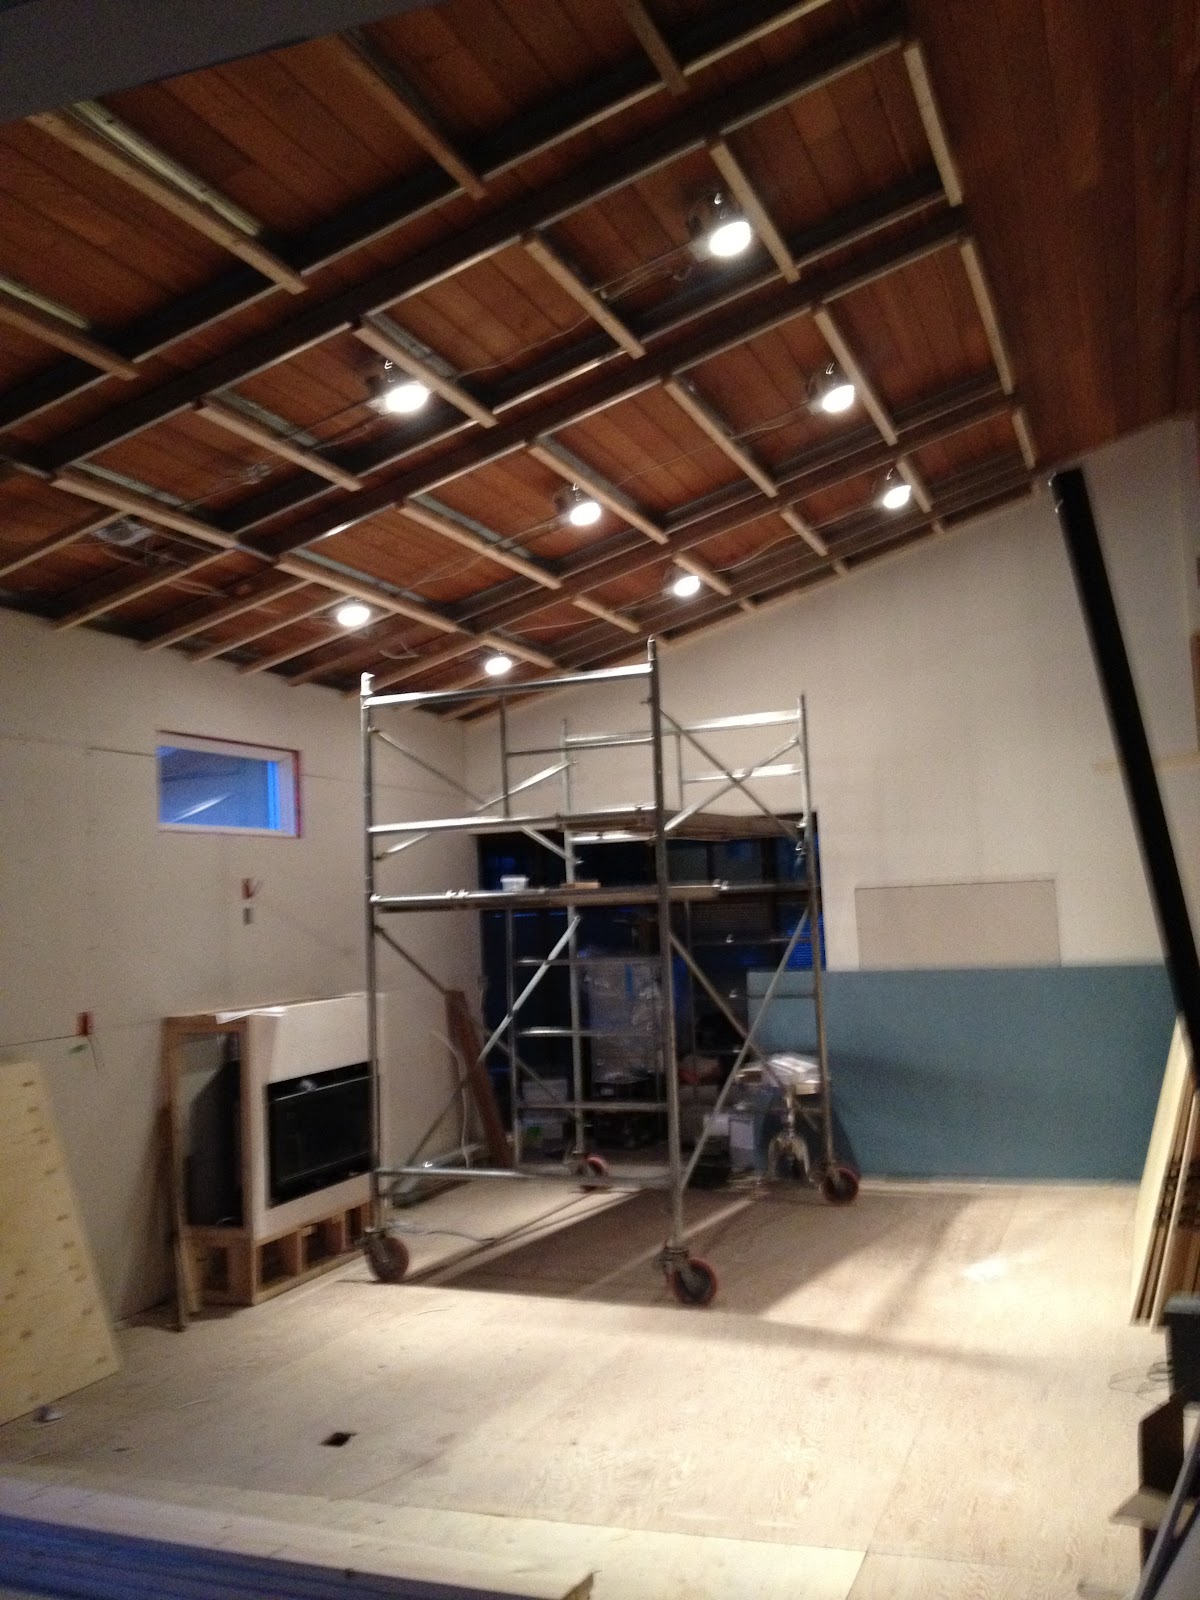
#10:  When framing a sleeper floor to raise the level to a uniform height, keep in mind that plywood subfloor comes in 4’ x 8’ sheets.  You will realize that leaving an unsupported edge of plywood (bouncy, bouncy!) is Not A Good Thing and you’ll now need to add yet another sleeper to keep everything stable.  Not difficult, but it wastes time and materials.  (And I get the chance to post another photo of Jean modifying the Family Room ceiling.)


#11:  There’s a big difference in the quality of stainless steel sinks.  Wherever possible, buy one that you’ve’ tire kicked’ in person.  Thanks to Chris and Kim for warning us about a bargain sink that turned out to be a pain to keep clean.  Keep an eye on the gauge of steel used and pick a heftier one if possible.  However, if your sink doesn’t come soundproofed, and each drop of water resonates like a cowbell (Digression:  google the ‘ SNL Needs More Cowbell’ video and enjoy the Christopher Walken silliness.) it is possible to add this later.  Adhere a layer of mass loaded vinyl (essentially flooring underlay product) to the underside of the bowls.  We may be experimenting with leftover blueskin dampproofing membrane product as it has similar qualities.


Tuesday 19 June 2012

Your doing it Wrong! Oops

 You’re Doing It Wrong

Among the many joys of renovating are the inevitable goof-ups that are part of renovating an existing house.  Particularly one with walls that are the architectural equivalent of a free form, interpretative dancer pirouetting barefoot  to the accompaniment of music composed by a room full of chimpanzees for bagpipe, harmonica and whoopee cushion.  I imagine that back in 1976, the builder must have muttered ‘Close enough’ and ‘Whatever’  or possibly ‘Groovy, man’ more than a few times.  However, I must confess that more than one issue cannot be attributed to wonky existing construction but falls squarely in the realm of ‘amateur renovator’.  Aside from self inflicted head wounds caused by not noticing rivets popping out of a hand saw and finger pokes on hidden nails and staples that have previously been mentioned on this blog, there is a level of incompetency that qualifies as a Code Red on the Oopsie Scale.

Please note that no humans were harmed (seriously) during this project.  So far.

Case Study #1:  Installing gypsumboard wrong side out on the clinic sauna room ceiling.  In my defense, it was an extremely complicated cut as there were no parallel walls and I was focussing entirely on getting the angles right and forgetting to mirror image the measurements.  Oops.

Case Study #2:  Installing plywood over concrete.  It worked well, except in one spot which lifted.  Of course, that spot is in the worst location possible right in front of a doorway and the slight movement means that we now have to figure out how to screw down plywood through concrete to achieve a stable base for the tile floor.  Note to self:  don’t be chintzy with the PL400 and keep pressure on it until it’s absolutely cured.  Then wait a couple days longer before removing the bracing.  Oops.

Case Study #3:  Nominal vs actual sizes apply to both lumber and steel stud framing.  After furring out all our living room ceiling clouds with 1” metal furring channels over 4” studs, we discovered we were short a critical ½” in depth and the pot lights would not fit.  So, we had the opportunity to reframe the furring in wood after the clouds were already overhead.  Not easy or fun.  Oops.

Case Study #4:  Be aware of your surroundings.  If there’s only a couple of square feet of plywood subfloor removed, and you’re walking backwards carrying materials, you will find the hole.  Just sayin’.  On the bright side, we have a new ceiling feature in the Family Room now. (Nice Five Fingers shoes, Jean!)  Oops.

Case Study #5:  Be aware of where services are under the floor you’re sawing out.  Just because it’s too dark to see the electrical wire, doesn’t mean it’s not there.   At least the Renovation Gods took pity on you and had the breaker turned off.  Oops.


 Case study #1


Case Study #2


Case Study #3


Case Study #4

Case study #5:


Wednesday 6 June 2012

Are We There Yet? (from May 14th)

 
I’ve used the metaphor of ‘this is a marathon, not a sprint’ all too often to help beat down the sense of panic and weariness as we enter into Month 3 of this project. We’re well into the middle of the race now – just about the point that the runner is realizing that his shoes are tied too tight, the six energy bars consumed for breakfast aren’t sitting very well, the pace starting out was probably a touch too optimistic and maybe this wasn’t such a good idea after all/can I go home now please. We’re left the starting line far behind, the finish line is still a long ways ahead and we’re just plodding along.
This weekend wasn’t the most productive one as a series of outside circumstances need our attention. I was able to spent most of my day off on Friday and the weekend putzing around, but Jean is being pulled in all directions at once with kidlets, house selling, motorhome retrieval and a very ill father in hospital. Jean’s friends Guy and Bruce were able to come over one day to help out. Bruce’s carpentry skills were put to the test levelling out our wonky subfloor at the back of the house where three different levels all came together. We have a slight ¼” transition now at one spot, but it’s strategically located where two different types of flooring will come together.

We continue to make progress picking out finishing touches and resolving little issues, all of which take a surprising amount of time. We found a place to order the remaining doors we can’t seem to scrounge through our favorite re-use stores, decided on all our new exterior light fixtures, ordered a sample set of the barn door hardware we’re hoping to use on all doors, and bought the last remaining faucet. Although our flooring is being stored at various warehouses around town, our basement looks like a hardware and plumbing store with all the bits stashed away. There’s just a couple of light fixtures (the kitchen island and dining room are proving to be difficult to source), a kitchen sink/garburator and two sets of door hardware yet to buy.

Tuesday 5 June 2012

(Jean) Finally brave enough to write something.

This is Jean.  As our faithful followers will notice I have not put anything into this blog as of yet.  I was reading through the blog posts and realized I have not given anyone my perspective of this amazing project.  I have come to realize that I am a great assistant at doing some of this.  Thank the Renovation Gods that I have such good friends that can actually put this construction stuff together and a fantastic lady that can see the vision with such great clarity.  ( Sandra's favorite tongue-in-cheek line is "If I can draw it, you can build it." and "How hard can it be?...")  I will continue to add my thoughts as we continue on this journey.

Since we are getting closer to the finish line I was wondering if anyone has any ideas as to the color scheme I should use in the new clinic.  Bright? Dark? Neutral? Brilliant?...  The floor will be a mid tone mahogany color. Here's a sample of the flooring and a color translation chart for our male and female blog readers:


A Pain in the .....?

So there's good news and bad news. 

The good news is that Jean found out he's in excellent shape and has no major health issues.  The bad news is that it was an emergency room doctor who told him that at about 2am after going to the emergency room with chest pains.
While waiting the few hours for results, we amused ourselves with detailed examinations of all the equipment and supplies in the room.  Yup, our Friday night was pretty wild....

Progress Report

It's that time of year when students are getting a sense of what their marks for the term are going to be and are deciding on their studying strategy for finals.  We're 2/3 of the way through the process, and hopefully things come together quickly.  We still have to start one major project of rebuilding the stairs with a crazy steel + glulam cantilevered design, but have made a start on everything else. 


The clinic will be the first to be wrapped up as we're in the final stages of taping and mudding.  Poor Guy has to put up our amateurish drywalling skills and finesse it into something decent.  Marc our tile guru has started on the back entry but we have more prep to do to clean up old glue-down carpet install and less than stable plywood floors. 

Our current project is doing the drywall 'clouds' in the great room:

Other bits...

A basement full of flooring ready to be installed.

Wall going up dividing the main floor bathroom into the ensuite and powder room.  Linen closet is on the right.  Note the first attempt at steel stud construction - a warm up for the Great Room ceiling.

Time after time

Just getting caught up with a month's worth of overdue blog posts.  I need more time to get everything done, particularly since Jean's house may be sold and we need to move into the new house at the end of July.